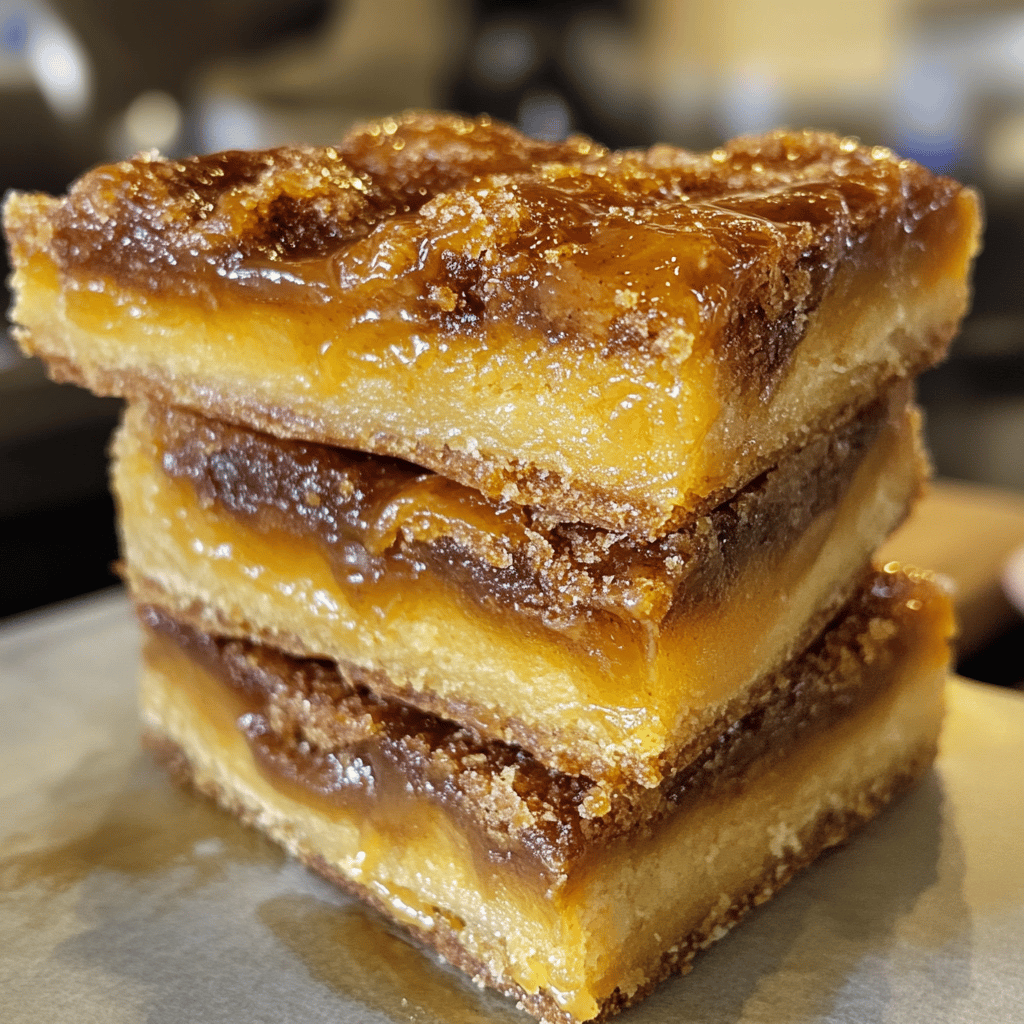
Oh boy, am I excited to share this recipe with you! Butterfinger Caramel Bars hold a special place in my heart, not just because they taste like a piece of heaven, but also because they remind me of the countless family movie nights spent on the couch with sticky fingers and laughter. The rich, creamy caramel melts perfectly with crunchy peanut butter and smooth chocolate, creating that nostalgia-inducing treat that we all crave from time to time.
These bars are perfect for sharing (or not, no judgment if you keep them all to yourself!). They strike the ideal balance between sweet and salty, and they’re a treat that brings back memories of simpler times, like gorging on candy during Halloween. Plus, they’re surprisingly easy to make, which means you can whip them up any time you need a little pick-me-up or want to impress friends at gatherings!
What’s in Butterfinger Caramel Bars?
Let’s break down the stars of the show! Here’s what you’ll need to create these delightful bars:
Butterfinger Candy Bars: We’ll use these iconic crunchy bars as the base for our recipe. Their unique combination of chocolate and peanut butter makes them irresistible! I like to look for the mini bars for this recipe as they’re easier to chop.
Caramel Sauce: This smooth, gooey goodness is what ties everything together. You can make your own or grab a store-bought version. I usually opt for a high-quality brand, like Smucker’s, because who has time to stand over a stove when we can be munching on our creations?
Unsalted Butter: A must for that rich flavor and soft texture, unsalted butter gives us control over the salinity in our bars. Always keep it soft so it mixes effortlessly!
Chocolate Chips: Semi-sweet chocolate chips work wonders here, providing the right amount of sweetness without overpowering the dish. Again, go for a brand you love—Ghirardelli is one of my go-tos!
Crushed Peanuts: Optional but highly recommended, these little nuggets add crunch and enhance that peanut butter flavor we crave. I often use roasted, unsalted peanuts for the best effect.
Is Butterfinger Caramel Bars Good for You?
Now let’s be real, these bars are definitely a treat, which means they’re more of an indulgence than a health food. But hey, every now and then, we all need a little sweetness in our lives, right? Here’s the lowdown:
Butterfinger Candy Bars: These guys are sugary and have some healthy fats from the peanuts, but they also come packed with sweetness. Moderation is key here!
Caramel Sauce: While caramel is utterly delightful, it’s also loaded with sugar. If you’re keeping an eye on your sugar intake, consider opting for a sugar-free caramel sauce instead.
Dark Chocolate Chips: Using dark chocolate can give you a bit of a health boost as it’s lower in sugar and contains antioxidants—just a little silver lining to indulge in!
This dessert is perfect for satisfying that sweet tooth, but it’s best enjoyed as an occasional treat rather than a daily snack!
Ingredients List
To whip up a batch of these delicious Butterfinger Caramel Bars that serves about 12-16 people, you will need:
– 8 Butterfinger candy bars, chopped
– 1 cup caramel sauce
– 1/2 cup unsalted butter, softened
– 1 cup semi-sweet chocolate chips
– 1/2 cup crushed peanuts (optional)
How to Make Butterfinger Caramel Bars?
Ready to dive into the wonderful world of making your own Butterfinger Caramel Bars? Here’s how:
1. **Prep Your Pan:** Grease a 9×9-inch baking dish lightly with cooking spray or line it with parchment paper for easy removal later.
2. **Melt the Butter:** In a medium saucepan over low heat, melt the unsalted butter until it’s nice and smooth.
3. **Combine with Caramel:** Next, stir in the caramel sauce until well combined. Mix it for a bit until the butter and caramel melt together seamlessly. Remove from heat.
4. **Mix in the Butterfinger:** Add the chopped Butterfinger pieces to the caramel mixture, coating them evenly.
5. **Spread Mixture:** Pour your mixture into the prepared baking dish, spreading it evenly. Pop it in the fridge to chill and set up for about 30 minutes.
6. **Melt the Chocolate:** Meanwhile, melt the chocolate chips in a microwave-safe bowl. Microwave in 30-second intervals, stirring in between until fully melted.
7. **Pour Over the Bars:** Once the Butterfinger layer has set, pour the melted chocolate over the top, spreading it out evenly.
8. **Final Touches:** If you’re using crushed peanuts, sprinkle them over the chocolate layer right away before it hardens.
9. **Chill & Cut:** Pop the pan back in the fridge for at least another hour until the chocolate is set. Once firm, cut them into bars, and enjoy!
Sweet Tips for Butterfinger Bliss
– **Add Some Flavor:** Feel free to throw in a pinch of sea salt on top of the chocolate layer for that irresistible sweet-salty combo!
– **Substitutions:** For a nut-free version, you can simply skip the peanuts. You can also try different flavors of chocolate if you want to jazz it up (white chocolate, anyone?).
– **Storage:** Keep these bars in an airtight container in the fridge for up to a week—if they last that long!
I hope you get to make these delightful Butterfinger Caramel Bars soon! They’ll surely make your taste buds sing and create fond memories to cherish. Don’t forget to let me know how they turn out—happy snacking!


